

Home › Installation guide Canister installation
Canister installation
Installation on a portable stand
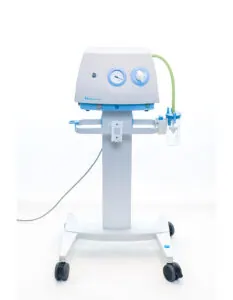
The model of the portable unit matters. Most units in healthcare centres (Medela and Sa Iran) have a rail under the motor. Abadis Medical Reservoirs designed one portable bracket that mounts on that rail. The steps below show how.
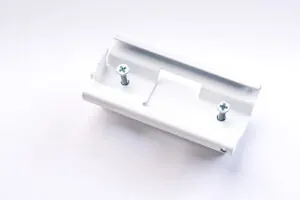
The portable bracket is two parts, joined by two M4 screws.
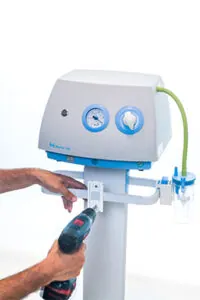
The portable unit’s rail sits between the two parts. Tightening the screws fixes the bracket to the rail.

On the 2-litre and 3-litre canisters, fit the T connector and the connection.
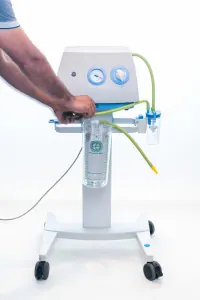
Measure from the portable unit outlet to the T connector on 2- and 3-litre canisters, or to the vacuum connector on 1-litre canisters. Cut 13×7 silicone tubing. Connect one end to the portable suction outlet and the other to the T connector or the vacuum connector.
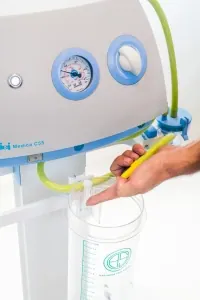
To check for leaks, close the portable unit outlet and read the maximum vacuum. Then close the canister vacuum path (the hole inside the canister and the vacuum connector). If the gauge still reaches the unit’s maximum vacuum, the joints do not leak.
Installation on a console
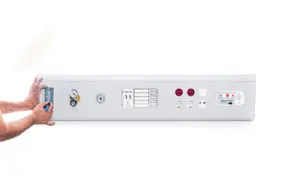
On a metal console, place the wall bracket where the canister will still leave enough room to change bags.
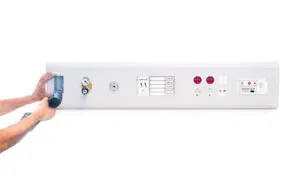
Mark the bracket holes. Consoles are usually aluminium; use a 15 mm self-drilling screw so you do not pierce copper fluid lines behind the console or cause a leak.

After the bracket is fixed, fit the T connector and the connection if you are mounting a 2- or 3-litre canister.
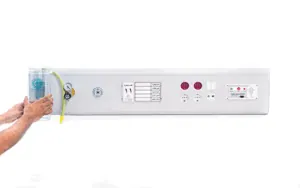
Slide the canisters onto the bracket from the top.
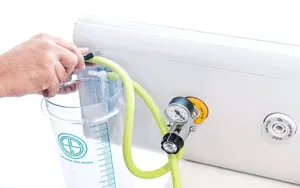
Measure from the vacuum outlet (usually a regulator) to the canister. Cut 13×7 silicone tubing. One end goes to the vacuum outlet. The other goes to the T connector on a 2- or 3-litre canister, or to the Abadis vacuum connection on a 1-litre canister.
Installation on a trolley stand
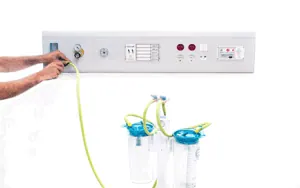
Decide where the trolley will stand in the operating room. Measure from the vacuum outlet to the trolley and cut 13×7 silicone tubing.
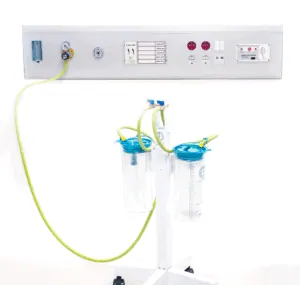
Connect one end of the tubing to the vacuum outlet and the other to the regulator or valve on the trolley.

Fit the T connector and the connection on 2- and 3-litre canisters. Measure from the regulator outlet to the T connector, or to the vacuum connection on a 1-litre canister.
Cut 13×7 silicone tubing. One end goes to the regulator or valve outlet. The other goes to the T connector on 2- and 3-litre canisters, or to the vacuum connection on a 1-litre canister.
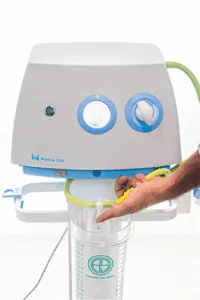
Close the regulator outlet and read the maximum negative pressure. Then close the canister vacuum path (the hole inside the canister and the vacuum connection). If the gauge still reaches the regulator’s maximum vacuum, the joints do not leak.